- 1. Overwatering: The Most Common Aloe Vera Care Mistake
- 2. Poor Drainage and Incorrect Pot Choice
- 3. Incorrect Light Exposure
- 4. Improper Fertilizing
- 5. Neglecting to Repot When Necessary
- Additional Aloe Vera Care Tips
- Frequently Asked Questions About Aloe Vera Care
- Avoiding Aloe Vera Care Mistakes: The Key to a Thriving Plant
1. Overwatering: The Most Common Aloe Vera Care Mistake
Overwatering is by far the leading cause of problems with aloe vera plants. As desert succulents, aloe plants store water in their leaves and are adapted to survive in dry conditions. When given too much water, they can quickly develop root rot and other serious issues.
Signs Your Aloe Is Overwatered
Recognizing the symptoms of overwatering early can save your plant from permanent damage:
- Soft, mushy leaves that may appear translucent
- Yellowing or browning leaves, especially at the base
- Leaves falling over or drooping despite being full
- Foul smell from the soil or plant base
- Brown spots on leaves
- Root rot (roots appear brown or black instead of white)

Overwatered aloe vera showing classic symptoms of yellowing and mushy leaves
Proper Watering Technique
To avoid this common aloe vera care mistake, follow these watering guidelines:
How Often to Water
Allow the soil to dry completely between waterings. Depending on your climate and season, this might mean:
- Summer: Water every 2-3 weeks
- Winter: Water once a month or less
- Always check soil dryness before watering
How to Water
The method matters as much as the frequency:
- Water thoroughly until it drains from the bottom
- Use room temperature water
- Water the soil directly, not the leaves
- Empty drainage tray promptly
2. Poor Drainage and Incorrect Pot Choice
Even with proper watering frequency, your aloe vera can suffer if it’s planted in the wrong container or soil. Proper drainage is crucial for preventing root rot and other moisture-related problems.
Choosing the Right Pot
The container you select plays a significant role in your aloe’s health:

Terracotta pots with drainage holes are ideal for aloe vera plants
Best Pot Materials
- Terracotta or clay (allows soil to breathe)
- Ceramic with drainage holes
- Plastic pots (acceptable if they have proper drainage)
Pot Size and Features
- Must have drainage holes
- Choose a pot only slightly larger than the root ball
- Avoid decorative pots without drainage
- If using a decorative outer pot, remove the plant when watering
Proper Soil Mix for Aloe Vera
Regular potting soil retains too much moisture for aloe plants. Instead, use:

Well-draining succulent soil with perlite and sand provides ideal growing conditions
A good rule of thumb: Your aloe vera soil should feel gritty and drain quickly when wet. If water pools on the surface, your mix is too dense.
DIY Aloe Vera Soil Recipe
Make your own perfect aloe vera potting mix by combining:
- 2 parts regular potting soil
- 1 part coarse sand or perlite
- 1 part small gravel or pumice
3. Incorrect Light Exposure
Finding the right balance of light is crucial for aloe vera plants. While they need bright light to thrive, too much direct sunlight can damage them, especially when grown indoors.

Ideal light conditions: bright but filtered sunlight through a window
Signs of Improper Light
Too Little Light
When aloe vera doesn’t get enough light, it will:
- Grow tall and leggy (etiolated)
- Develop pale, weak leaves
- Lean dramatically toward light sources
- Grow slowly or stop growing
Too Much Direct Light
Excessive direct sunlight causes:
- Brown or reddish leaf tips (sunburn)
- Dried, crispy leaf edges
- Bleached or whitened patches
- Overall yellow or orange coloration
 and sunburned aloe (too much direct light)")
Left: Etiolated aloe from insufficient light. Right: Sunburned aloe from excessive direct sun
Ideal Light Conditions
For a thriving aloe vera plant:
- Place in bright, indirect light (near a south or west-facing window is often ideal)
- If using a south-facing window, keep the plant a few feet back or filter the light with a sheer curtain
- Rotate the plant quarterly to ensure even growth
- If moving outdoors for summer, gradually acclimate to prevent sunburn
Seasonal Light Adjustment: Your aloe may need to be moved closer to windows during winter months when sunlight is less intense, then moved back during summer when the sun is stronger.
4. Improper Fertilizing
Unlike many houseplants, aloe vera doesn’t require frequent fertilizing. In fact, over-fertilizing is a common aloe vera care mistake that can damage your plant.

Over-fertilized aloe vera showing signs of fertilizer burn with brown leaf tips
Signs of Fertilizer Problems
- Brown or crispy leaf tips and edges
- White crust on soil surface (fertilizer salt buildup)
- Slow growth despite adequate light and water
- Leaf discoloration or unusual spotting
Proper Fertilizing Schedule
For healthy aloe vera growth:
- Fertilize only during active growing season (spring and summer)
- Use a balanced, water-soluble fertilizer diluted to half strength
- Apply only 2-3 times per year
- Never fertilize in winter when growth naturally slows
- Skip fertilizing newly repotted plants for the first 2-3 months
Remember: Aloe vera evolved in nutrient-poor desert soils. It’s better to under-fertilize than over-fertilize your plant.
5. Neglecting to Repot When Necessary
While aloe vera doesn’t mind being slightly root-bound, eventually it will need repotting to continue thriving. Knowing when and how to repot is essential for long-term aloe health.

Repotting a root-bound aloe vera into fresh soil and a slightly larger container
Signs Your Aloe Needs Repotting
- Roots growing out of drainage holes
- Plant becoming top-heavy or falling over
- Soil drying out extremely quickly
- Growth has slowed despite proper care
- Numerous pups (offsets) crowding the pot
- Plant has been in the same pot for 2+ years
Proper Repotting Technique
Follow these steps for successful aloe vera repotting:
 that can be separated during repotting")
Aloe vera pups (offsets) can be separated during repotting to propagate new plants
- Choose a new pot only 1-2 inches larger in diameter than the current one
- Prepare fresh succulent/cactus potting mix
- Water the plant lightly a day before repotting
- Gently remove from the current pot, loosening the root ball
- Remove any rotted or dead roots (they’ll appear brown or black)
- Separate any pups if desired for propagation
- Place in the new pot with fresh soil around the roots
- Wait 5-7 days before watering to allow any root injuries to heal
Best Time to Repot: Spring or early summer when the plant is entering its active growth phase. Avoid repotting during winter when the plant is dormant.
Additional Aloe Vera Care Tips
Beyond avoiding the five major mistakes, these additional tips will help your plant thrive:

A thriving aloe vera with multiple pups is a sign of excellent care
Temperature Considerations
Aloe vera prefers:
- Daytime temperatures between 55-80°F (13-27°C)
- Nighttime temperatures not below 40°F (4°C)
- Protection from cold drafts near windows and doors
- Consistent temperatures without sudden fluctuations
Dealing with Pests
While generally pest-resistant, aloe can occasionally attract:
- Mealybugs (white cotton-like clusters)
- Scale insects (small brown bumps)
- Spider mites (fine webbing, stippled leaves)
Treat with insecticidal soap or neem oil, being careful not to overwater while treating.
When to Harvest Aloe Vera Gel
If you’re growing aloe for its medicinal properties:
- Wait until the plant is mature (at least 3-4 years old)
- Select thick, healthy outer leaves
- Cut leaves at the base using clean, sharp scissors
- Only harvest 3-4 leaves per plant at a time
- Allow the plant to recover for several months between harvests

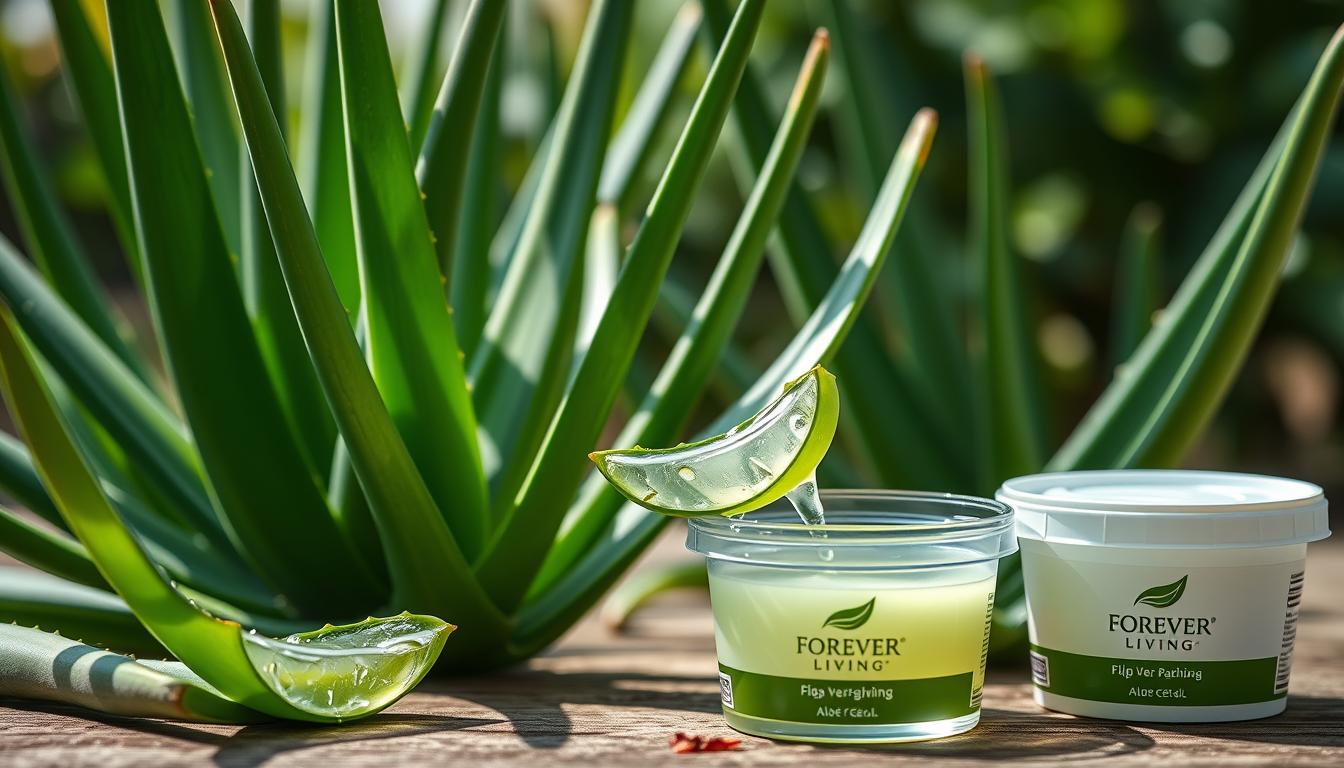
Harvesting the beneficial gel from a mature aloe vera leaf
Avoiding Aloe Vera Care Mistakes: The Key to a Thriving Plant
Understanding and avoiding these five common mistakes will help you grow a healthy, thriving plant that can provide both beauty and beneficial gel for years to come. Remember that aloe vera is naturally adapted to survive in harsh desert conditions, so it’s often more resilient than we give it credit for.
The most important aspects of aloe vera care are providing well-draining soil, the right amount of light, and a restrained approach to watering. By mimicking its natural desert habitat conditions, you’ll create the perfect environment for your aloe to flourish.

With proper care, your aloe vera collection can thrive for many years